BLOGMAS 7 || Personalise your Christmas


I'm aware today's Blogmas post is very niche, but what's Christmas without a little bit of DIY?! Craft lovers like me, this ones for you!

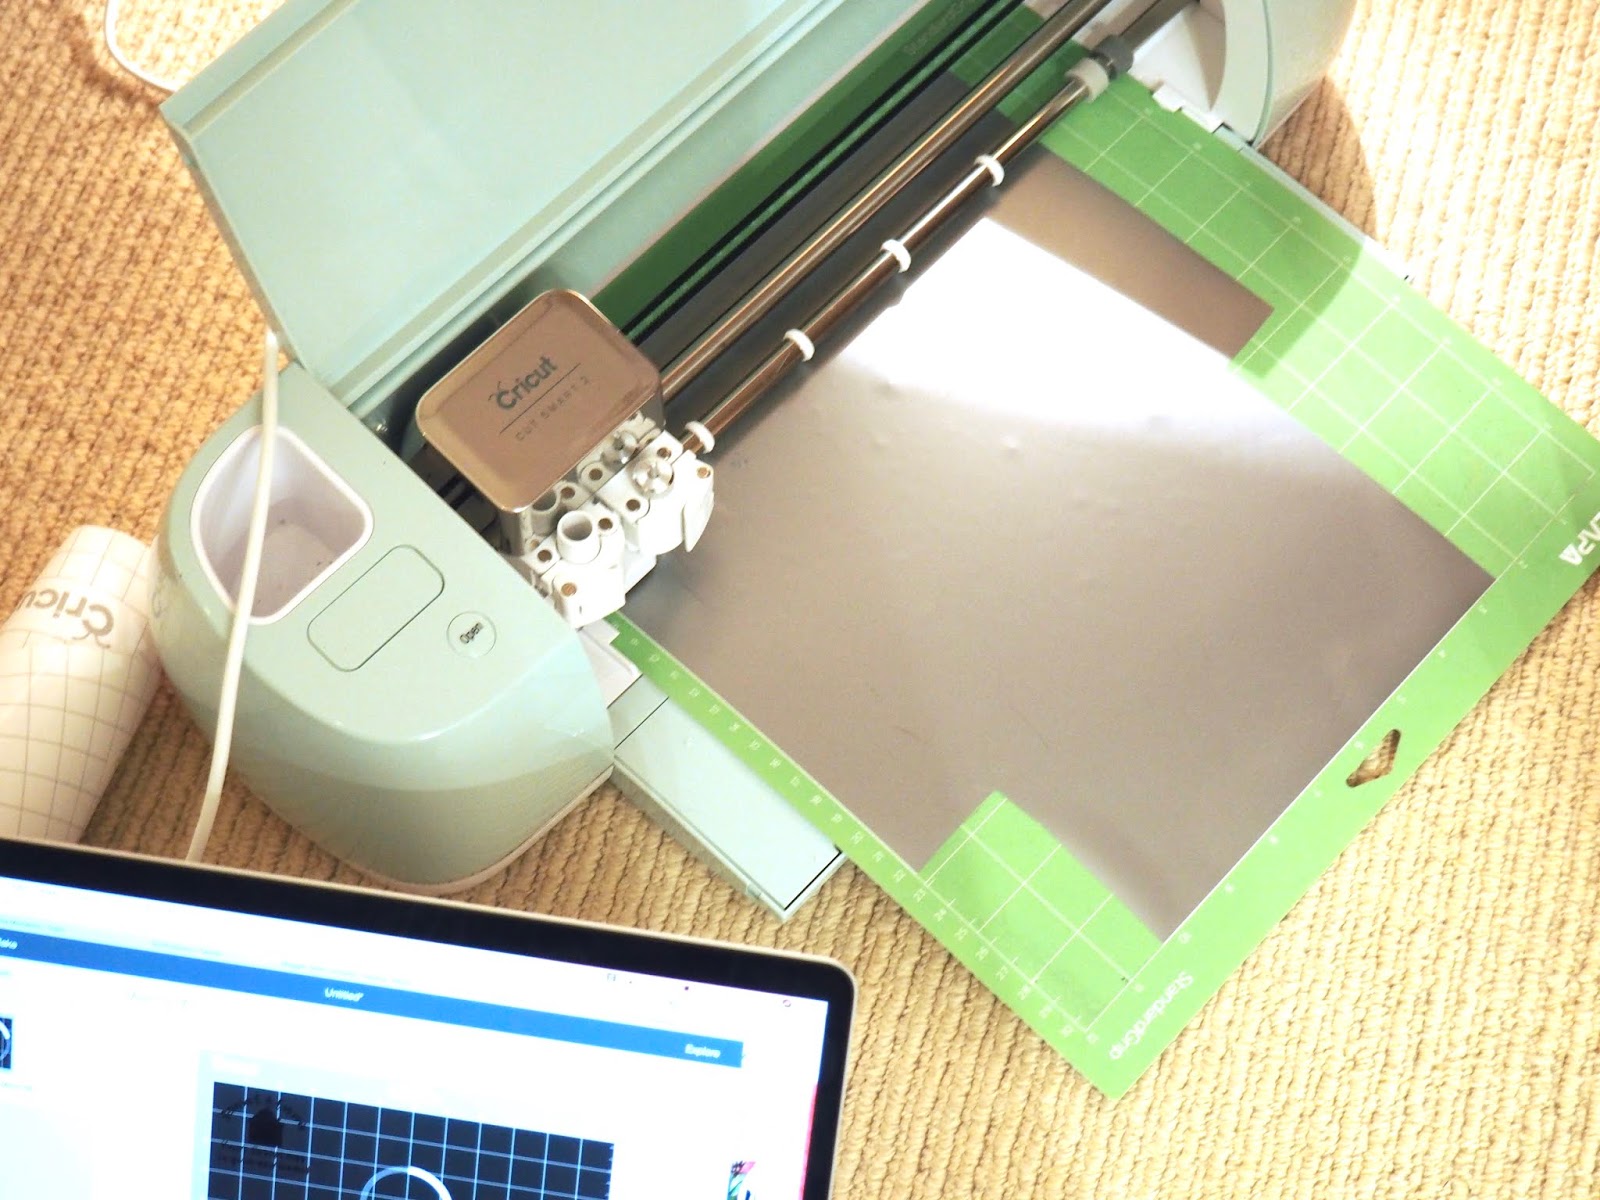
Nothing says a personal present like something handmade and honestly there are so many quick and easy projects you can do around this time of year which make great gifts if you're on a budget or just enjoy making something a little more personal. For me, I always make one or two special gifts. This year so far I have already made Christmas wreaths (which you can read about here) and an advent calendar, but I have another couple of present ideas in mind. I purchased a Cricut craft machine this year that has helped with a lot of my gifting projects, but a lot of what I have planned to make can be done using basic stationary. 

The first mini Christmas project is a personalised bauble for my brother Daniel and Emma to celebrate their first Christmas in their new house (I hope they're not reading!). I purchased this bauble from Wilko as it had the date on the back which I thought would be nice to act as a time stamp for them, but lots of high street shops and online sell these clear baubles. I've included some ideas down below of what you can do, but for me I am going to be using a basic font on my Cricut machine to write 'Daniel and Emma - First Christmas in our new home' on. You could also use a variety of sharpies, sticky letters or stencils to write onto the bauble too but just be careful not to smudge. I'm using black sheets of sticky back vinyl for mine. I was so pleased with how this turned out! 


My next craft has been this gorgeous framed 'print'. The frame cost £3 from Wilko and the print was actually an old Christmas card that I loved and didn't want to throw away. This is such a great way to reuse your favourite cards and a good way to keep hold of the 'special' ones we all know and love. 


Finally if you know me, you know I love a bit of gift wrapping, but it's always fun to make it look a little bit different and creative. Simply drawing onto the wrapping paper! This craft only works if you're using plain paper, but I love how unique you can make it! The fun of it too is that you can do as little or as much as you would like. Names can be included as well to double up as a gift tag and you can make personalise to the recipients taste too! See the ideas below! 


I hope you liked this post, I know it's a bit of a different one but thought it would be fun to share! 

Until next time, 


BLOGMAS 6 | GLOSSYBOX ADVENT CALENDAR Days 1-3


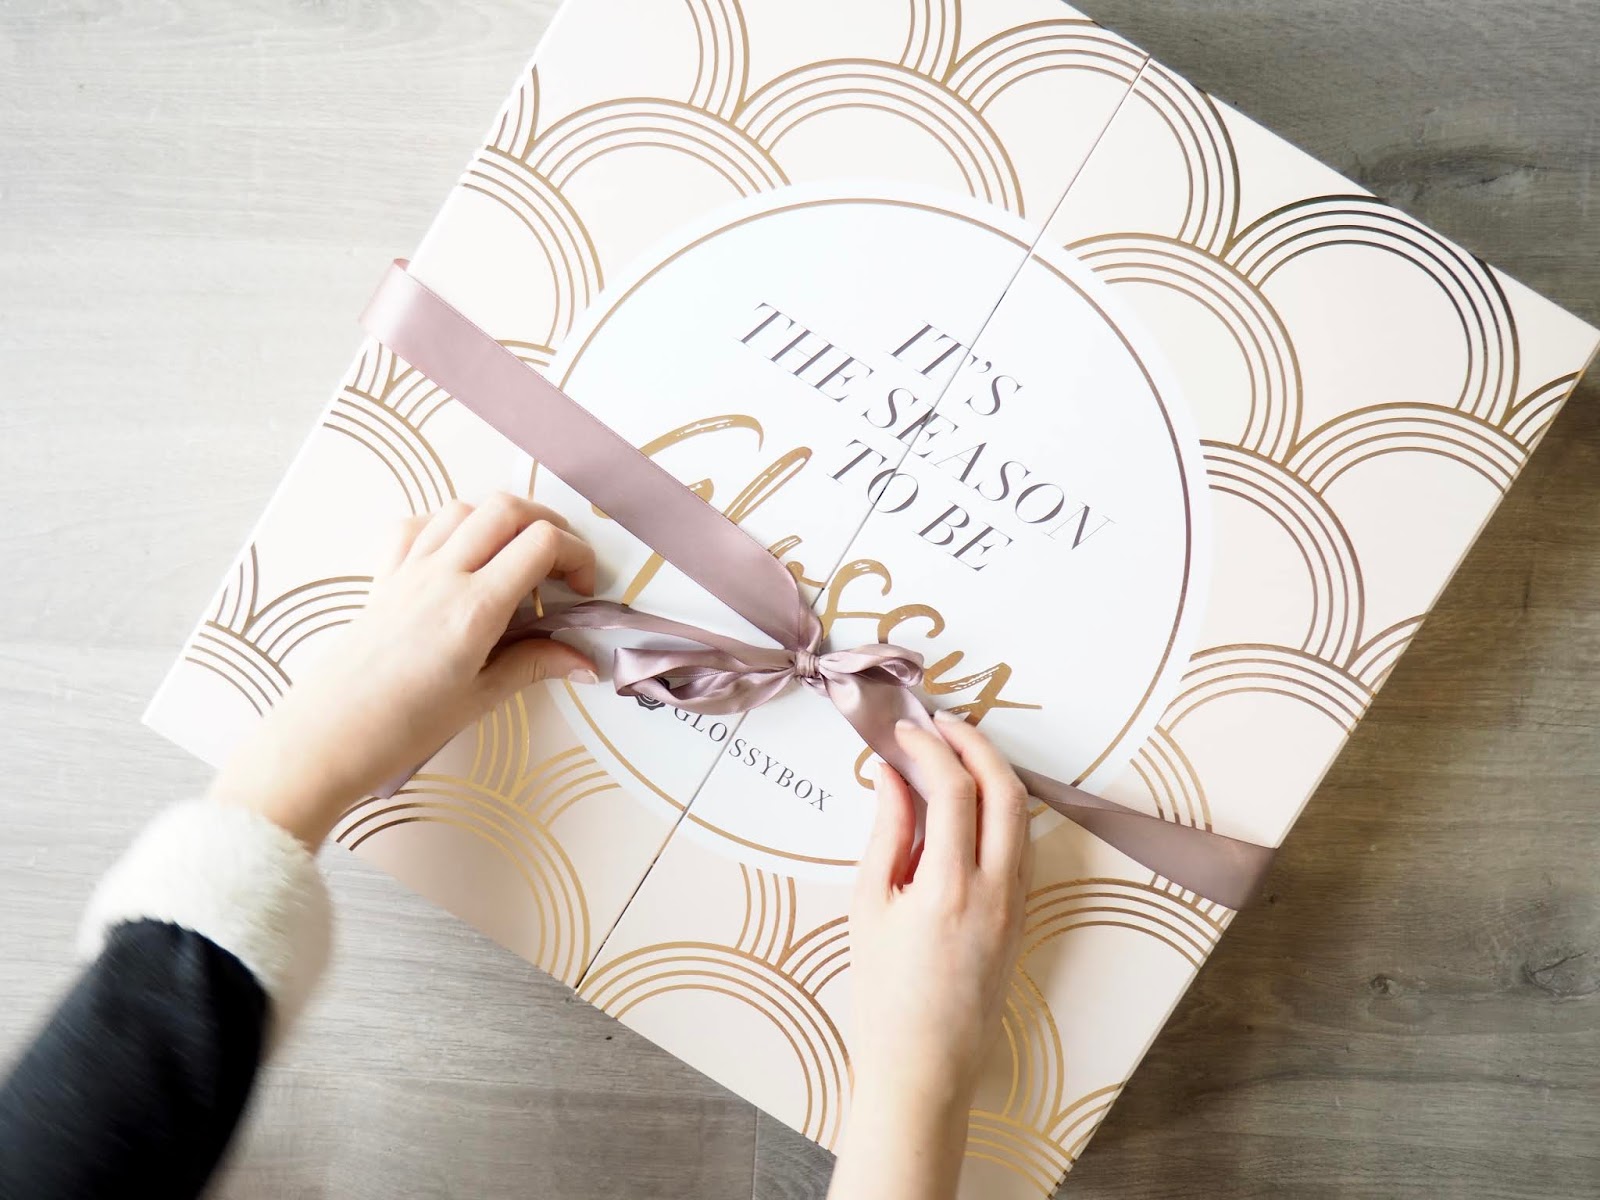
Every Christmas I always try to buy one 'treat yo'self' advent calendar. Luckily for me, this years one was actually a gift from my mum and dad...#gifted lol. I was so excited to get my hands on the Glossybox calendar as it actually ended up selling out quite quickly! We're only 6 days in and I am so glad that this little beauty is mine...there's some seriously good products in here that I would genuinely purchase myself! I've decided in this little blogmas blog series I'm going to gradually share them a few days after I have opened it all so it gives you the chance to still be surprised if you've not had the chance to open yours for yourself! So here's advent doors 1-3, enjoy!


So behind door number one was the beautiful NYX 'ultimate' eyeshadow palette. What a start to advent! The shades are absolutely gorgeous and are very very wearable! Next was the cutest mini Nomade by Chloe perfume. It's a scent I've never smelt before, but I really like it! Finally (for this post) day three was the inclusion of the Glossybox blending sponge. I've only recently been a convert to sponges, so I can't wait to start using it!

Until next time, x


BLOGMAS 5 || The Perfect Christmas Tree


When it comes to picking Christmas trees, I'm your gal! Nothing says the start of the festive season than putting up a tree inside your living room, little bit odd though isn't it. I take picking the best tree very very seriously. I walk around the tree lot twice, sizing them all up before settling on THE one that's key to our Christmas celebrations. It's become a little tradition for my dad and I to pop out together and I know I drive him crazy by changing my mind hundreds of times, but lets be real he loves it! 


I'm so lucky to have these little family traditions and love that mum and dad have been adamant for my brother and I to grow up decorating the tree together. This year is going to be odd decorating it myself now that he's moved out (sad times). So here we have it... our family 2009 Christmas Tree. This isn't the final version of this tree as I have already ordered some more decorations, but for now I love it and it's placement in our new kitchen. I would love to see your trees, so please tag me in any photos! 


Until next time, 


BLOGMAS 4 || Gingerbread House Fail


Every now and then, I get these big ideas to do something super fun and crafty that completely fails. This is 100% one of those occasions! 

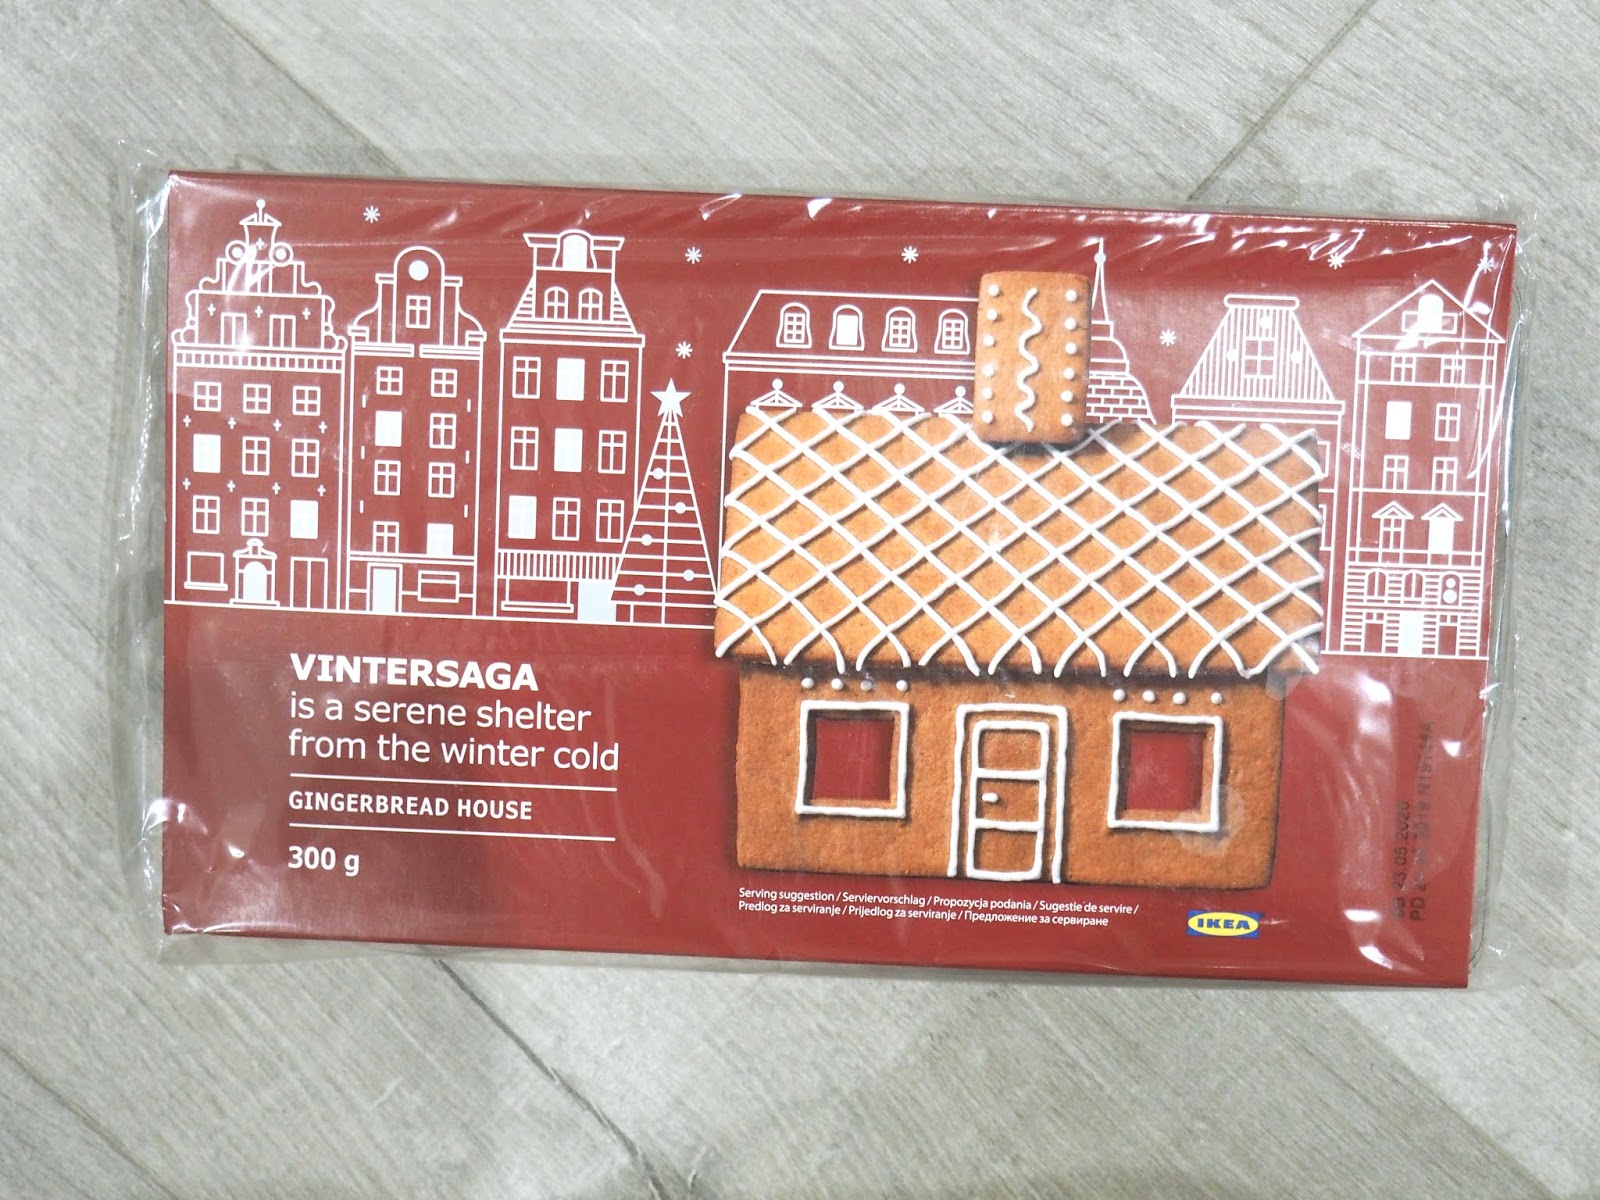
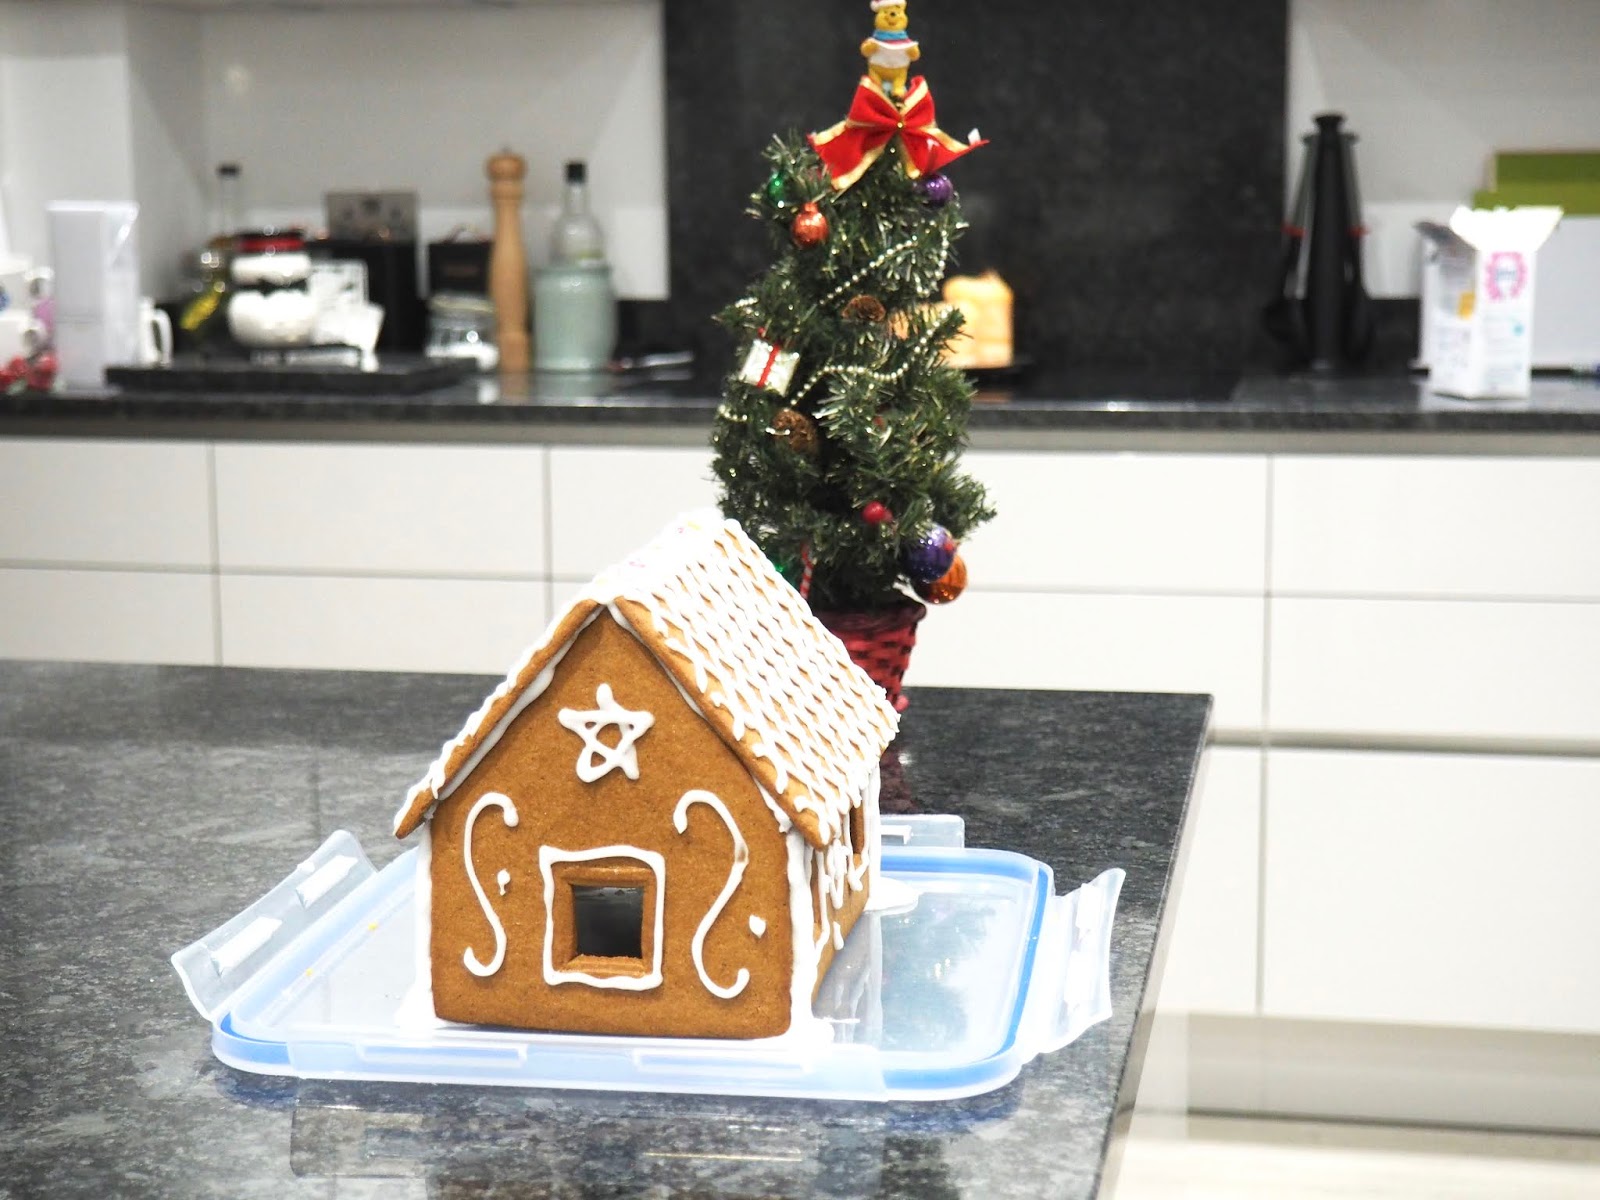
Every year I have attempted to make an amazing gingerbread house with white royal icing piped to perfection in cute little heart shapes with amazing trees and plump snow.... that never happens. This year I thought I would make life easier for myself and buy a kit. I found one in Ikea two weeks ago and thought I was onto a winner. That was, until I realised how much more effort it was going to take to put the house together. I followed every step, but no matter what I tried to do, I just couldn't get it to look that pretty. So here's my little house contribution. It doesn't look the prettiest, but I like it and it tastes AMAZING - so that's a winner right?!


Have you made a gingerbread house yet this year? Do you have any tips on how I can make it better? 

Until next time, x

BLOGMAS 3 || Secret Santa Shopping


There's honestly nothing better than shopping for the perfect gift for that special someone in your life. I research, hunt and spend ages trying to make sure I get it 'right'. I always struggle though when it comes to secret Santa and being given the rubbish task of gifting someone, who let's be honest you've never heard of or met before, a present under £5 or £10. 

I hope the below guide is helpful and vague enough to get you through the secret Santa season!

Sensible gifts

Personalised notebook - £4, Next.co.uk

Bake your own cookie mix - £8, Next.co.uk

Sausage dog hand warmers - £6, Debenhams.com

Lightening bolt light - £8, Debenhams.com

Festive socks - £3, Matalan.co.uk


Silly

Secret Santa gift box - £12, Firebox.com

100 Tricks to appear smart in meetings - £9.99, Firebox.com

So there's just a few ideas I have at the current time for secret Santa gifting, which is the worst kind of gifting in my opinion! Hope this helps, please let me know if you have any other ideas because boy am I struggling this year and it's only the 3rd! 

Until next time, x

BLOGMAS 2 || Wreath Making!


Since when did Christmas decorations get so damn expensive! I love decorating the house to look festive, but I have to draw the line at paying over £30 for a wreath that's going to come out for one month of the year! (How I wish I had the disposable income to be able to do that though!) 
Last month my mum and I were watching Stacey Solomon's XMAS Insta story where she made her own wreath from Ebay and felt inspired. Since then I have made two wreaths, and counting, of my own and even branched (get it lol) into a full on garland for the kitchen. I can confirm they're so easy to make and are such a cute Christmas craft! 
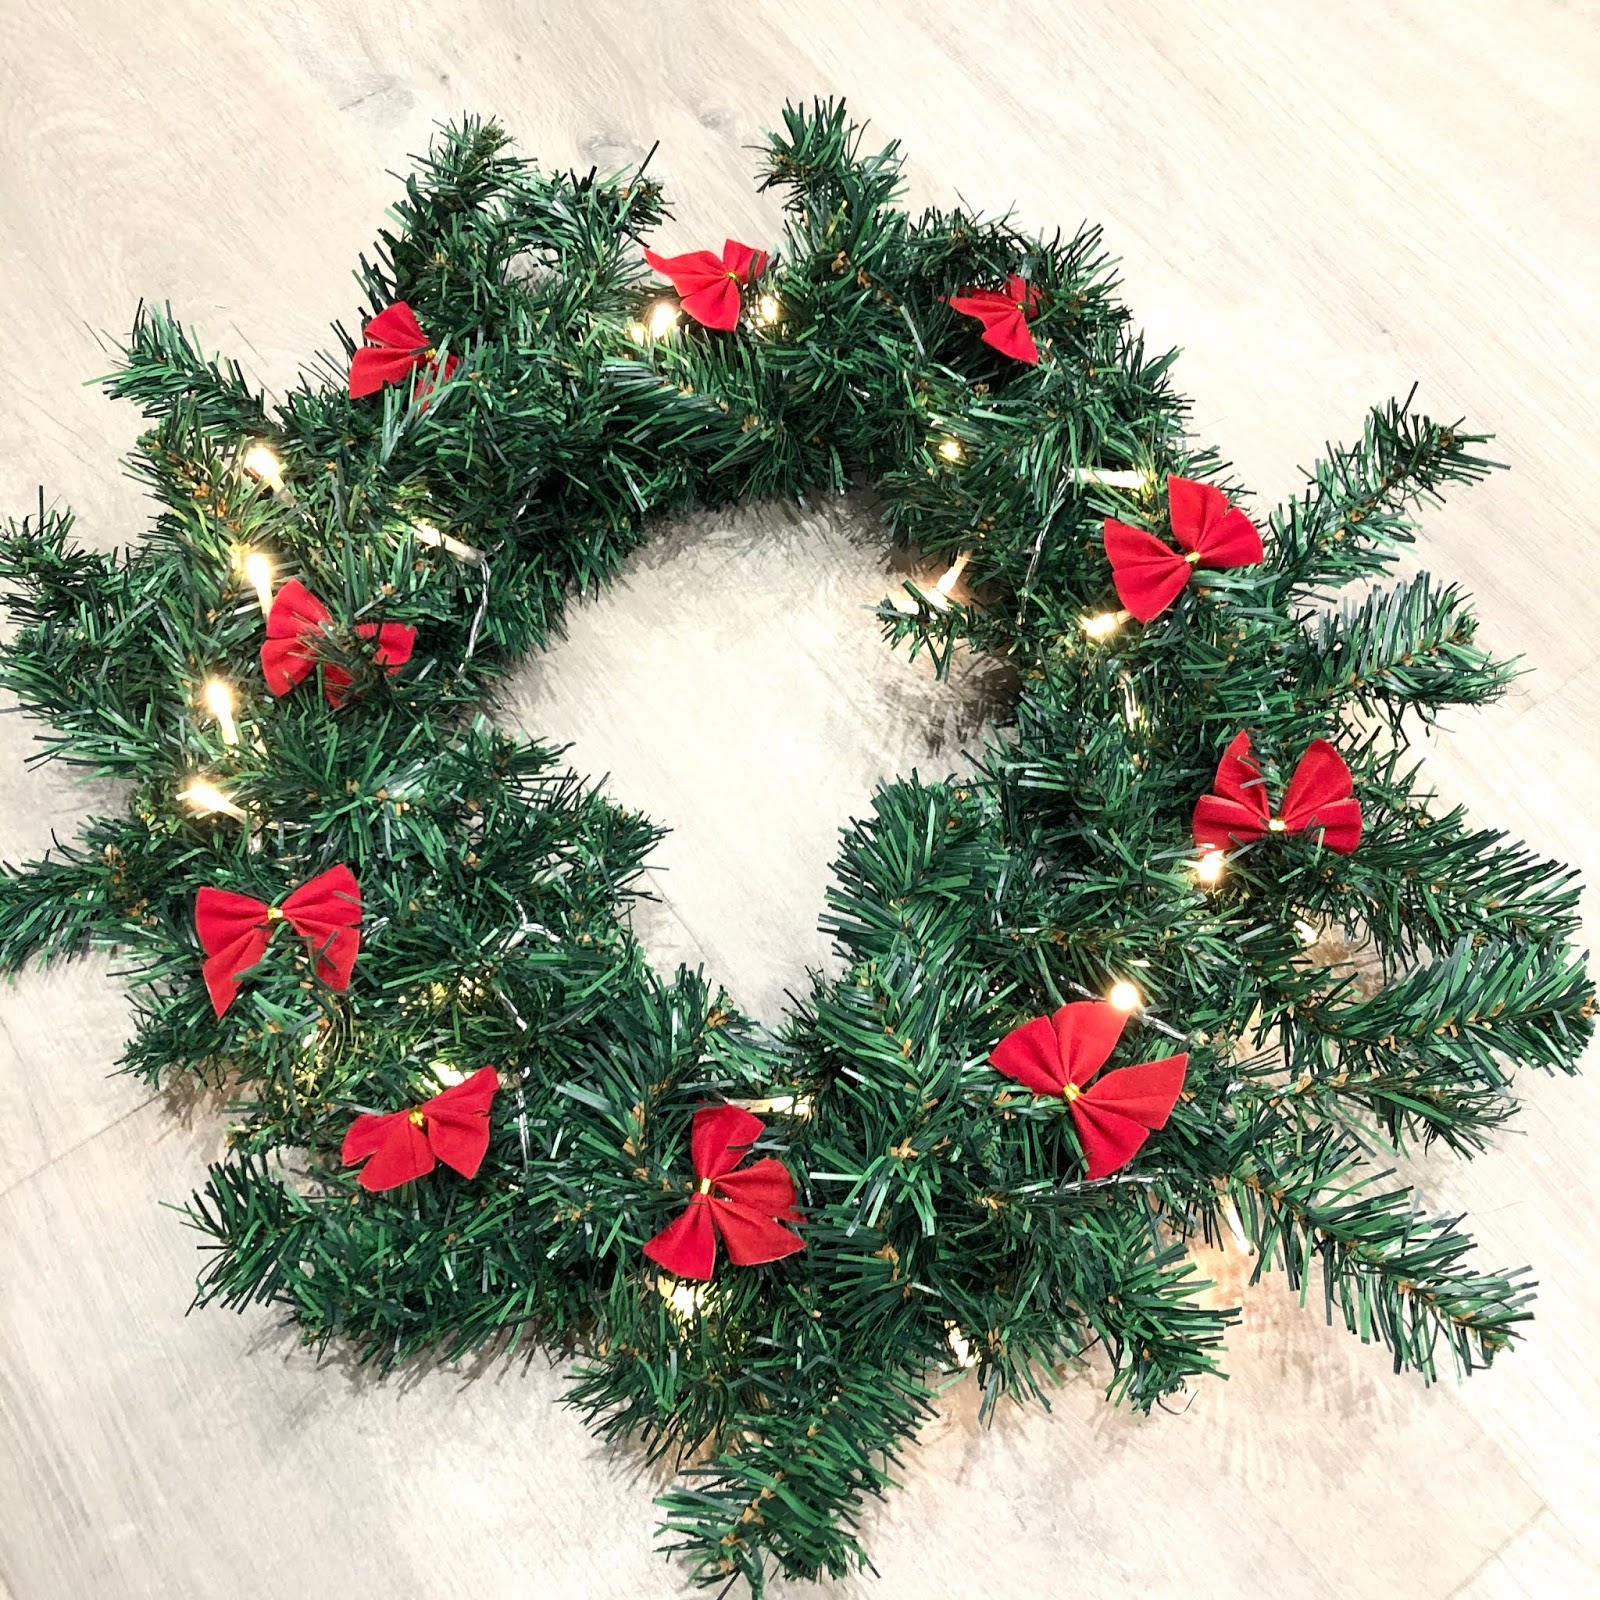
To make the wreaths you simply need a wire ring, batteries and the garland kit. Everything can be purchased through trusted eBay sellers for £13. A BIG reduction from store, and in my opinion they look just as good if not better! The garland kit is perfect as well as it's long enough to make two wreaths (just note you only get one string of fairy lights, but you can additionally buy these on eBay too). Also in the kit comes some red bows and supposedly pine cones/snowflakes. I say supposedly because I have never received the snowflakes and have only received the pine cones in one batch! 


To start the craft you simply cut the garland in half and then fold in half to find the middle. Once found you thread it into the ring and start to work your way around the wreath weaving as you go. When happy with the spacing the longest task begins. To cover the ring you have to take a little bit of time just weaving strands around. This helps to secure the design as well as hiding the copper parts. Next you add in the fairy lights. I find it easier to make a section of green at the bottom big enough to hide and hold the battery pack in. Start to weave the lights on the front and try not to just go around in a circle as it wastes some of the lights. The final step is to add on the red bows and any other decorations you want to. After you've added the batteries your wreath is ready to go and is guaranteed to look F-A-B-U-L-O-U-S on any door. I imagine you're only meant to use the wreath inside considering the lights are battery operated, however it looks super cute on our front door in the porch.


So there we have it. A super simple and VERY easy Christmas craft that I know has a great impact! 
Have a great day! x