Showing posts with label bbloggers. Show all posts

BLOGMAS 4 || Gingerbread House Fail


Every now and then, I get these big ideas to do something super fun and crafty that completely fails. This is 100% one of those occasions! 

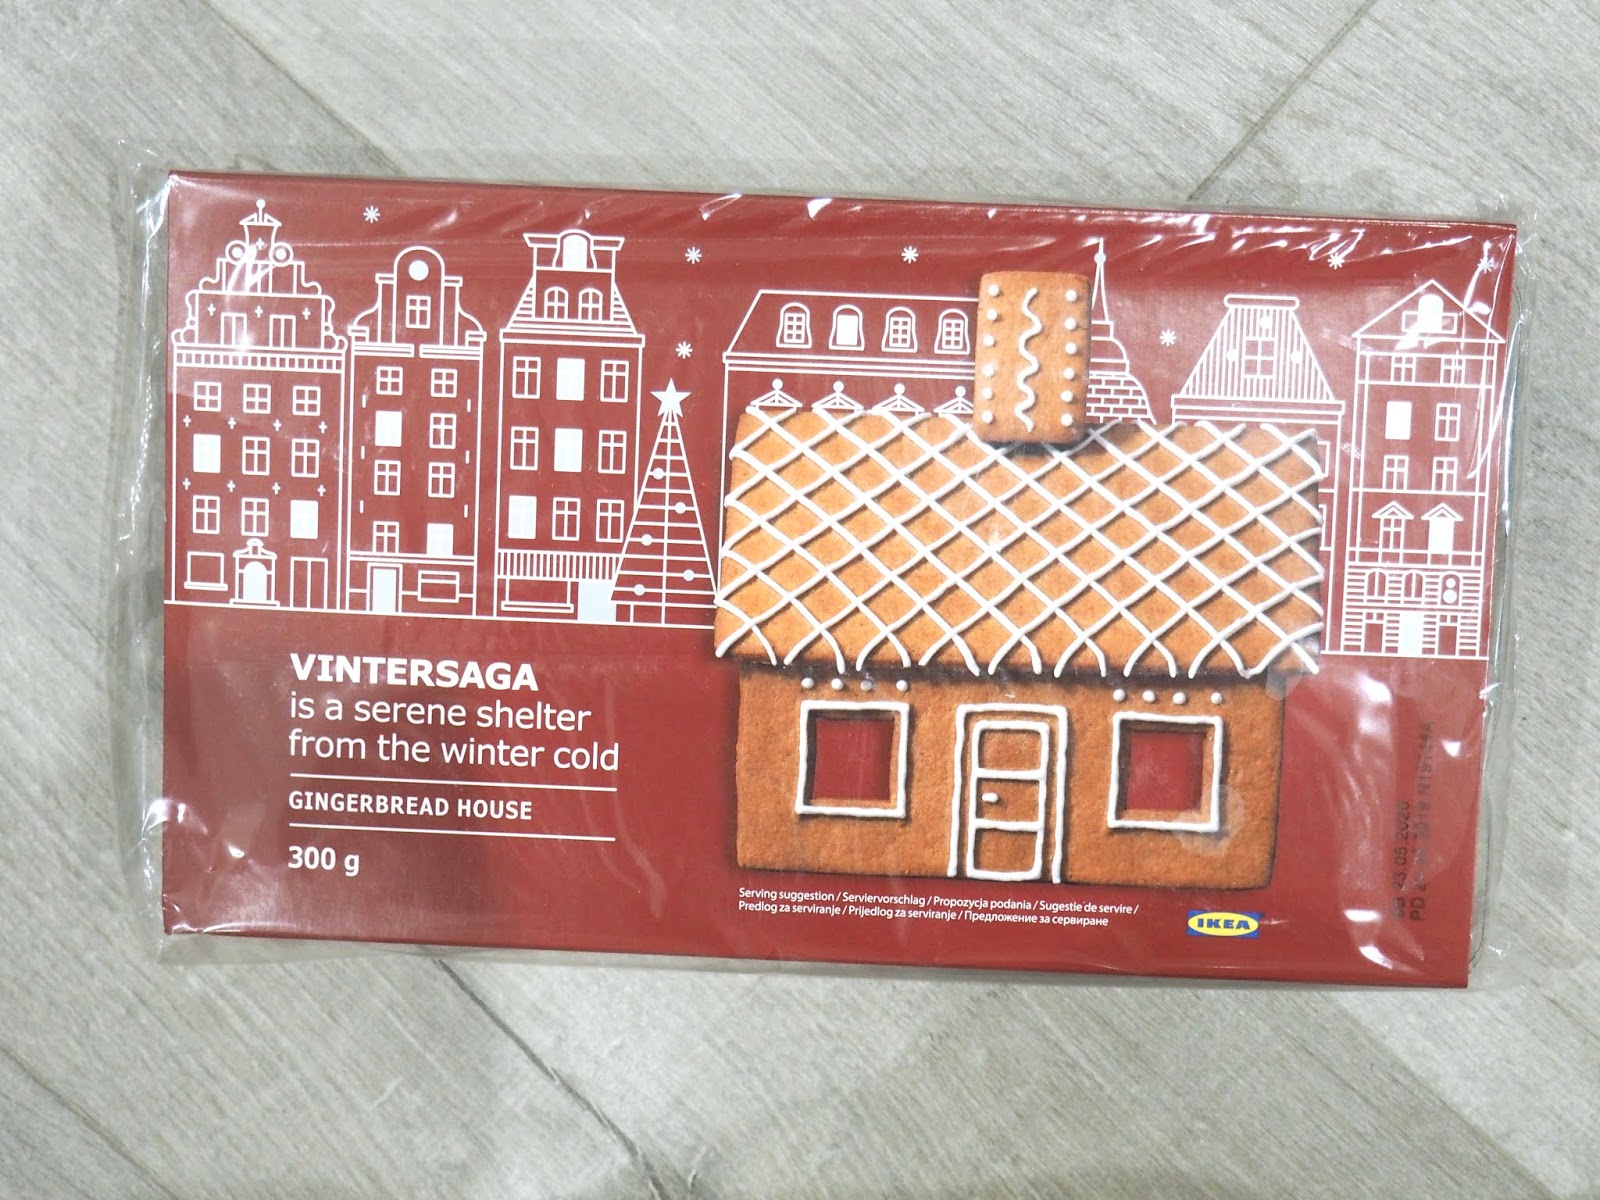
Every year I have attempted to make an amazing gingerbread house with white royal icing piped to perfection in cute little heart shapes with amazing trees and plump snow.... that never happens. This year I thought I would make life easier for myself and buy a kit. I found one in Ikea two weeks ago and thought I was onto a winner. That was, until I realised how much more effort it was going to take to put the house together. I followed every step, but no matter what I tried to do, I just couldn't get it to look that pretty. So here's my little house contribution. It doesn't look the prettiest, but I like it and it tastes AMAZING - so that's a winner right?!


Have you made a gingerbread house yet this year? Do you have any tips on how I can make it better? 

Until next time, x

Beauty | Urban Decay Naked Heat!


I know, I am VERY behind with writing this post and realise that everyone and their mum has probably already got a review of this little beauty up on their blogs already, but good things come to those who wait right?

I've dreamt of owning this palette ever since my eyes first saw it last summer when interning at Heat magazine (a story for another time, lol). To be completely honest with you, I just couldn't justify spending the money on buying it for myself! Just before Christmas my brother and his girlfriend Emma went to New York for a couple of days and face timed me to ask if I wanted one, of course I had said YES before Emma had even finished her sentence. 


Like most things this day and age, the packaging pretty much sold it for me. I love it when brands get creative, and Urban Decay never ever disappoint! I love how similar in shape and design this palette is to smoky as they look so cute sat on my dressing table together. Obviously with the name being Heat, the palette is full of orange, brown and gold shades that are all perfect to create a warm eye look. The pigmentation of the palette is equally as great, although I knew this would be the case!


The palette consists of 12 shades, seven mattes and five shimmers. Urban decay have gone down the right track with the perfect shimmery shade 'Lumber', which is probably my most favourite out of the whole palette. So what are the pro's and con's?

Pro's - It's a gorgeous, well thought and put together palette. The basic base shades of 'Low Blow', 'Sauced' and 'Chaser', set the eye perfectly for other colours to be effortlessly blended on top. I like to use my primer potion as a base and find it to work well with the shadows.

Con's - If I was to have to pick a con, it would probably be the fact the packaging is quite bulky. As much as I love it, a smaller design like the original Naked palette would be better for travel.

So there we go, my review finally, of the Urban Decay Naked Heat palette. It was about time I joined the beauty blogger world! I would love to know your thoughts on the palette, as well as looks I can try out!

Until next time, 


Lifestyle || Steps I've Taken To Up My Photography


Taking photographs for my blog is probably one of my favourite steps in the whole blogging process. I love trying different things, using different props and generally experimenting when I shoot. As much as I love photography, it does at times become quite stressful. I can picture how I want images to look in my mind but it doesn’t always translate on the camera. I’ve been changing a couple of things up recently which, in my opinion, has helped me to take better photographs.

1.    Planning
I already kind of mentioned this above, but I find planning out what photographs I want to take before taking them helps a lot. This obviously changes depending on what I am photographing. I plan in a couple of ways. Simply searching flat lay ideas on Pinterest or scrolling through Instagram is a good way of researching ideas. Another way of planning, which works mainly with makeup photography, is physically looking at products to see which angle they will photograph best. Do they have anything special on their containers that’s worth photographing?


2.    Props
I’m a big fan of props, especially ones that can be used for a multiple of pictures! As well as my Marble backdrop board that I created as the perfect backdrop, I also use diaries, ribbons and confetti to scatter in the background of images. More recently, and probably thanks to the Christmas season, I have been using fairy lights to add a bit of ‘background’ to my images. You might have noticed a gorgeous light pink faux fur rug in a couple of recent Instagram photos? – That’s my comfy Zara Gilet. So you can truly use anything as a prop for your images! I have listed below a couple of ‘Blogger’ favourite’s that always look pretty when photographed.

-       Light Box (I’m yet to use mine in photos, but they look great!)
-       Other Products – This is a great idea when photographing products from the same brand.
-       Candles – Always look pretty when photographed from above, just be careful not to have them lit as this can damage your camera!
-       Jewellery – There’s something about jewelry that looks pretty when laid out.
-       Rugs – Faux fur, brightly coloured or monochrome. Rugs are always a great addition to a photo, and they extend your frame too if your running out of space on a surface!

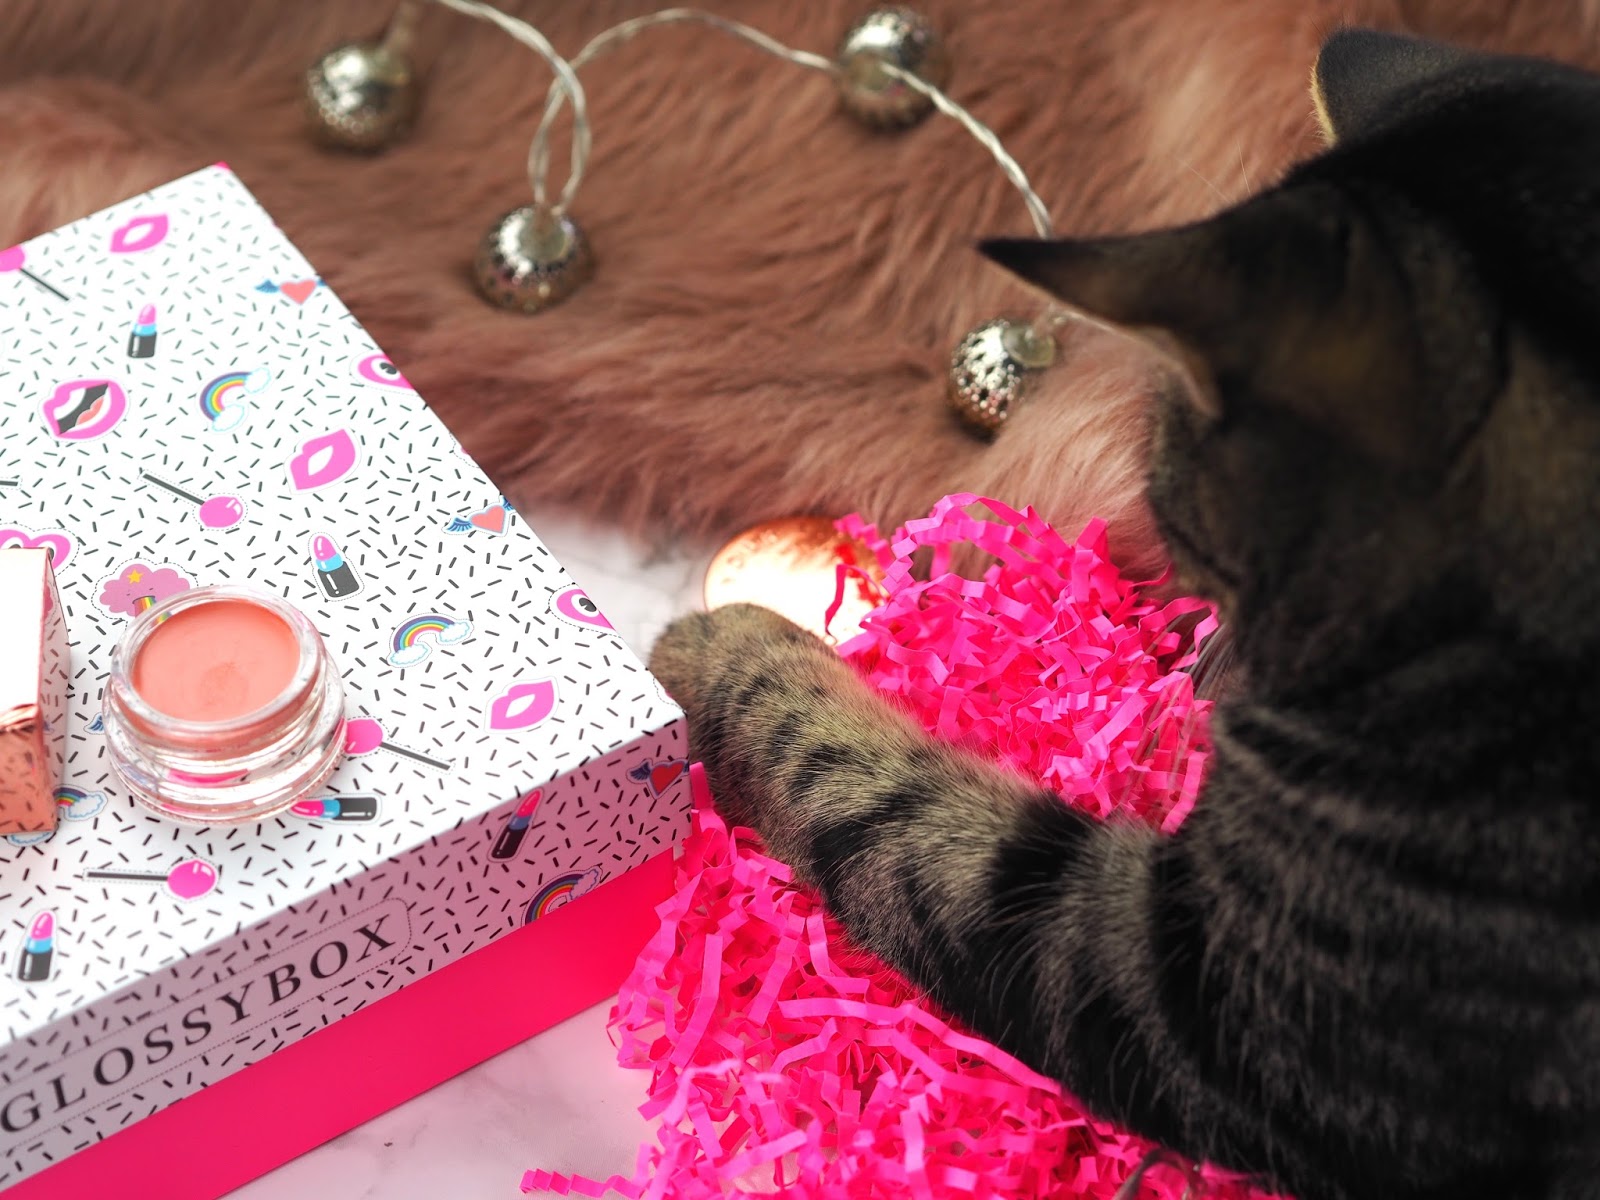
Both ribbon and shredded paper that came with my Glossybox made a great photo prop!

Fairy lights and Christmas garland aren't just for Christmas!

Blurred out, the fairy lights and garland look pretty and make the background interesting.


Marble board, fairy lights and my trusty faux fur body warmer!

3.    Looking back at images
This is a step that I have been doing a lot recently, especially with the changing of weather and light when taking my images. Although I now own two studio lights, it’s still tricky to control the outcome of my photographs. So looking back over them when there’s time to change the finishing product is a great step to take. This can be annoying, especially if your using a tripod as you have to take everything apart before continuing with your images, but it’s worth doing trust me. It makes the editing step a lot easier, as you’re kind of taking out the middle man.


Before
After
4.    Angles
I read a great post the other week (I am so annoyed I now can’t find the post or the blogger!) about changing up the angles of which you take your photographs. I agreed with every point that the blogger made about taking photographs for you, and following your own instinct when it comes to blogging photos. Since starting my blog I have been a firm fan of the flat lay, and don’t get me wrong I still am, but I have enjoyed switching the angle slightly and changing up my lenses to photograph in a fresh profile style way.


5.    Have fun!
This isn’t really a step, or a tip, but something that’s taken me a while to truly grasp. Photography is such a fun thing to do, and half the time we stress out so much about it the enjoyment is taken away. I try to combat this by photographing when I want to, rather than when I need to. This does mean I tend to plan my posts in advance, which can be annoying, but it also gives me time to come up with ideas for Instagram posts as well as for my blog. Things don't always go right either and that's ok too! As you can tell from the next set of photographs, taking photos AND owning cats brings up it's own problems!


Hope some of my tips have helped in some way. Photography is truly all about how you want to do it, no rules and no guidelines. I think that’s probably what I like about it the most! I was going to go into tips on shooting OOTD’s or fashion posts on your own, but think that’s worth a post all of its own! Let me know if that’s of any interest!

Until next time,

Beauty || Zoeva Cocoa Blend Palette


I've been a 'working' girl for over 5 months now, so it's hard to believe that this is the first beauty splurge I have purchased, does that mean I am finally growing up? probably not! I was in London last weekend shopping with my cousin, when we decided to pop into  the Selfridges beauty department. By 'pop' I actually mean spending about an hour lusting over all the luxury products that neither of us could afford but wanted anyway! We came across the Zoeva stand and both of us fell in love with the products. Usually I purchase makeup if I have read a great review on it, seen it mentioned in magazines or generally if I have had my eye on it for a while. So purchasing this was a complete whim for me, but I am so glad that I did. After many swatches later the Cocoa Blend palette was mine and I have been enjoying playing around with it ever since.


The first thing that excited me about this palette was the gorgeous shimmery cranberry shade named 'warm notes'. This shade is extremely pigmented and was something I wanted to experiment and play around with! A couple of other favourite shades in the palette are 'Freshly Toasted', 'Substitute For Love' and 'Pure Ganache' which is a gorgeous golden shimmery shade. The pigmentation of this palette is something that I haven't really experienced before from a 'cheaper' eyeshadow palette. By cheaper I mean £18 compared to the Naked palette price of £39.50. If you have read my blog before, then you would note that I love the Urban Decay Naked palettes as well as the Too Faced Peach Palette. These are still firm favourites of mine, but the Zoeva palette fits right in with them for a fraction of the price. 

L-R: Bitter Start, Sweeter End, Warm Notes, Subtle Blend and Beans Are White.
L-R: Pure Ganache, Subsitute For Love, Freshly Toasted, Infusion and Delicate Acidity.


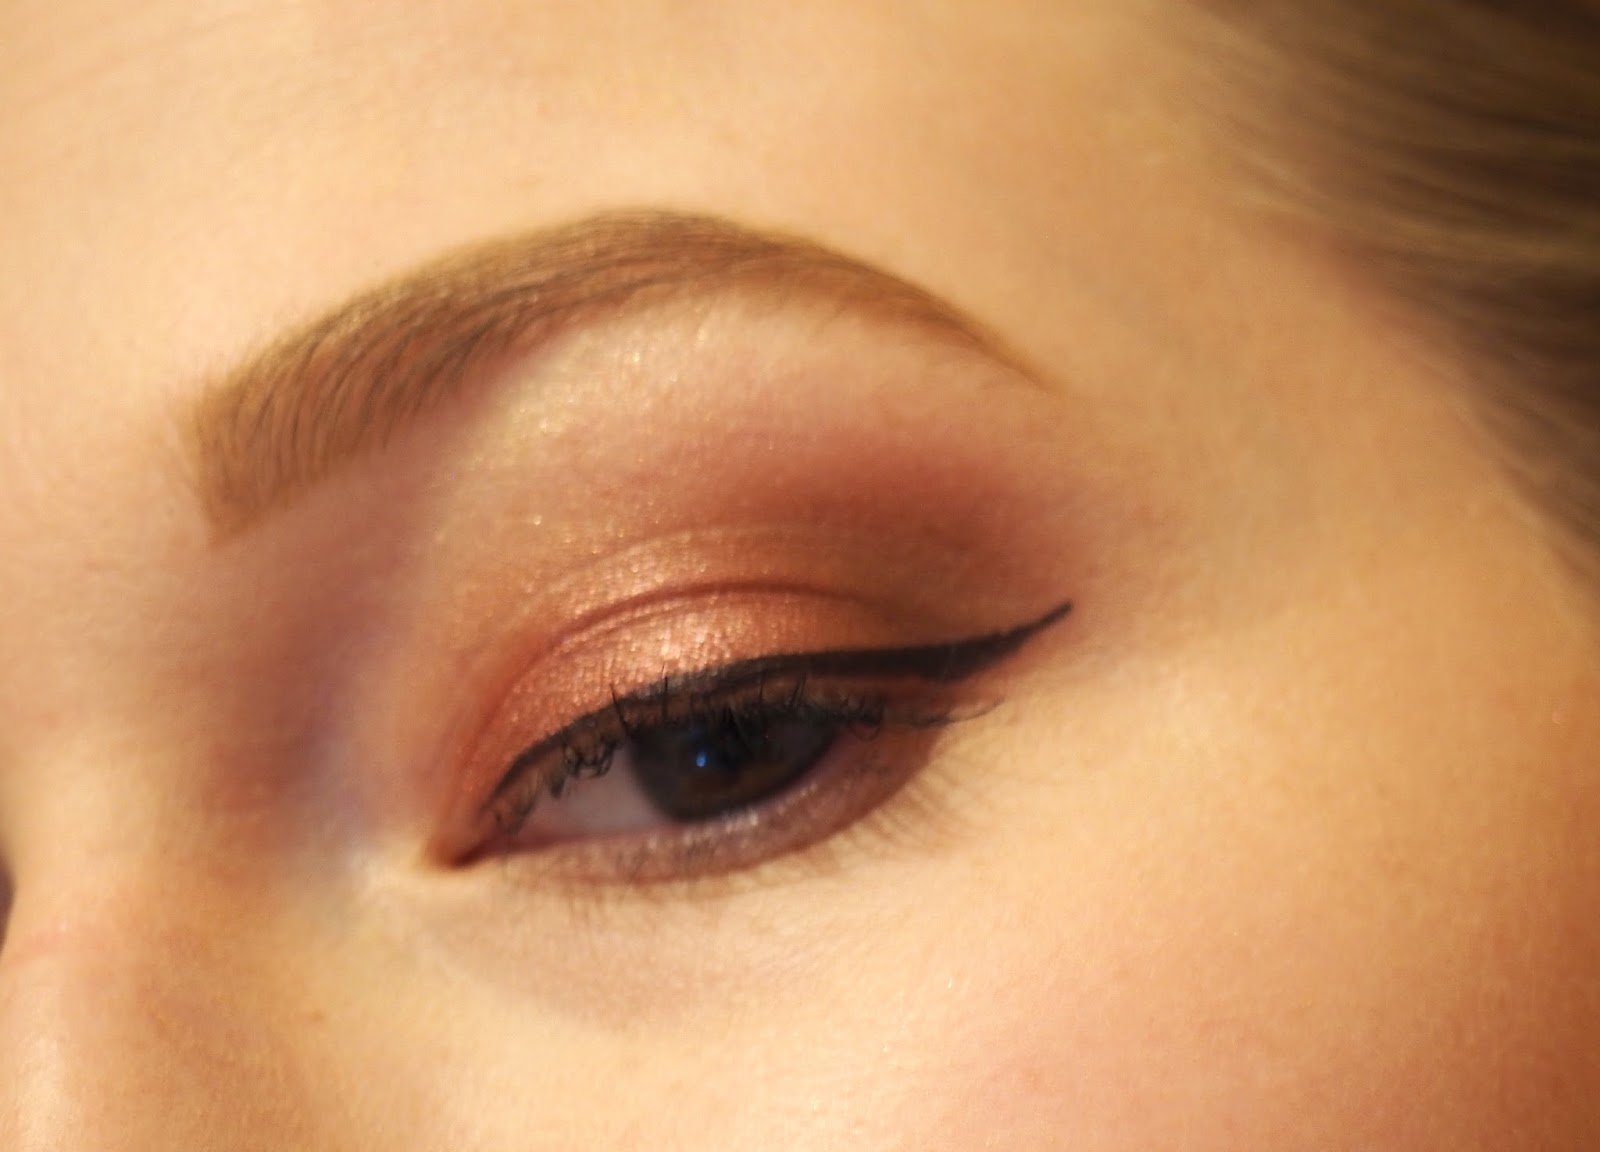
Overall, it's safe to say that I am already such a big fan of this palette. I love that you are able to use this palette to create such different looks - this makes it perfect for travelling. The pigmentation is perfect and lasts all day. I applied the makeup in the images above at lunchtime and took the final image of my eye at 11pm that night. Not only is my eyeliner still on (thanks Soap and Glory), but my eyeshadow stayed put also without any creasing! Another positive of this palette is the price tag. For £18 you get a lot for your money. I would have been prepared to pay at least £25 for this beauty. 

What do you think of this palette? Have you tried this one or any others from Zoeva that you think I might like? Let me know! 

Until next time, 

Beauty || Makeup products I can't live without


I've now been wearing makeup for the past four years, I know I'm a late bloomer! Over the years i've dabbled with so many different products my collection is overflowing. Over the weekend I had a massive clean out of products that I no longer use. This got me thinking about the products I know I wouldn't ever be able to get rid of which led to this post. It's odd to think about a time when I didn't rely heavily on these products to give me a little confidence but hey ho! I would be interested to know what products you can't live without? Let me know! 


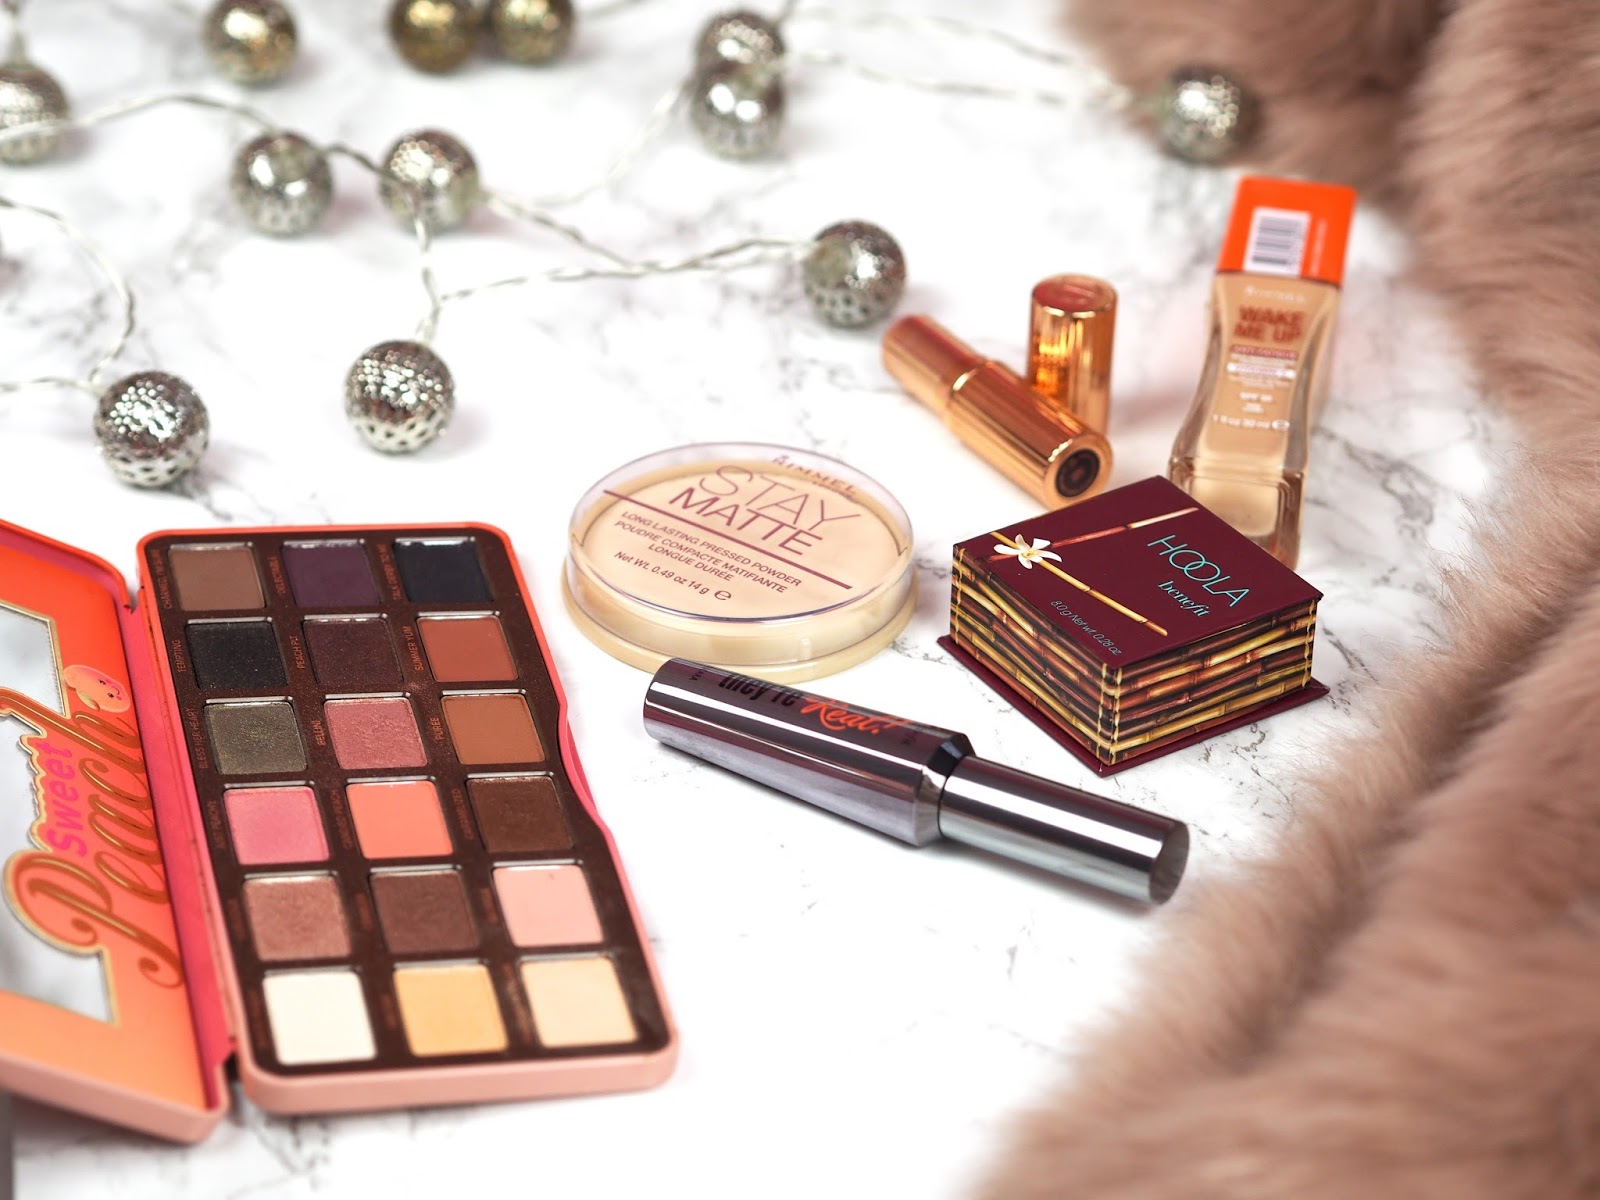
Rimmel London Wake Me Up Foundation
This has been my go to foundation for the last three years. I use this daily and very rarely swap it out for a higher coverage foundation for evenings out. I find it easy to apply to the skin, and love the coverage it gives me daily. 

Rimmel London Stay Matte Powder
This powder is probably one of the most talked about 'blogger favourite' powders on the market. I love using this as it works well, and to be honest I haven't tried many other setting products. I love using this on top of the Wake Me Up Foundation

Benefit Hoola Bronzer
This bronzer is probably one of the 'marmite' products spoken about within the blogging community. I personally love using it in my everyday makeup routine as it gives me a natural bronzed look. This was one of the first 'high end' makeup items that I purchased myself so it holds a special place in my little makeup heart! 

Too Faced Peach Palette
I've been using this eyeshadow palette for the last year as the base for every single makeup look I have created. The shade 'Peaches N Cream' works as the best colour underneath shades and 'Summer Yum' is probably another one of my most used shades from the palette. 

Charlotte Tilbury 'Super Cindy' Lipstick
You know when you just find 'your' lipstick colour? Well for me, this shade is it. As much as I love wearing a super matte product on my lips, for everyday nothing beats a pretty moisturising nude. I love how this product applies to the lips and I find that it lasts for the whole day whenever I am wearing it. Plus - who doesn't love rose gold packaging? I certainly do! 

Benefit They're Real Mascara
I have tried and tested so many different mascaras in the last four years, but one product always kept me repurchasing. I love how this mascara works with my lashes. If I am in the mood for long lashes with minimal effort, then this is the product I will always go for.

What products can you not live without? I would be interested in knowing if you have similar favourites! 

Until next time,