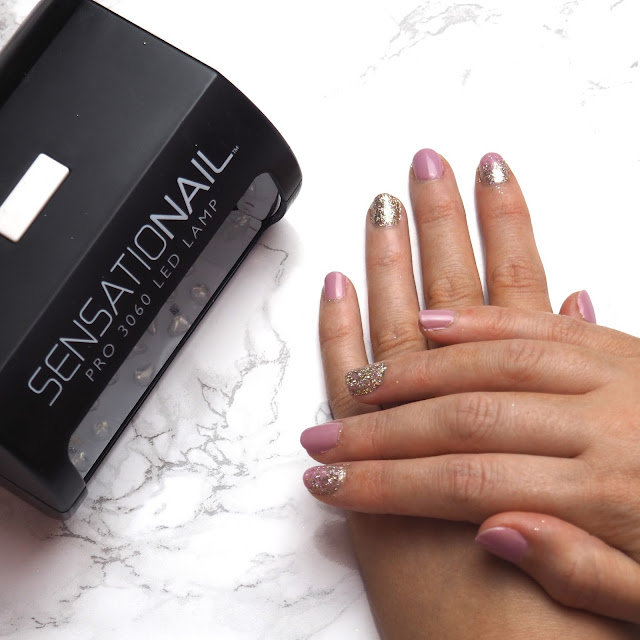
Last week I uploaded a photograph of my nails to Instagram and it seemed to get a great response, so I thought I would share how I did it! I love having my nails done professionally in the salon, but as the appointments can get quite expensive, my salon being £30 a time, I love having the option to do them nicely myself at home too.
I have written about my love for the Sensationail brand in the past, but the more I use it the better it is. This at home gel nail kit is so easy to use and it leaves you with salon finished nails from the comfort of your own home. The lasting time isn't as long as it is when having them done professionally, but it still out runs that of a normal nail polish. Building up the basic collection can be quite expensive to begin with, but as soon as you have a few colours and the top/base coat you are pretty much good to go! I have about 5 colours now which I alternate with and still find it more cost effective than going to the salon monthly. Lets get started...
To create the nail look this is what you need:
- Gel cleansing wipe
- Gel primer
- Gel base and top coat
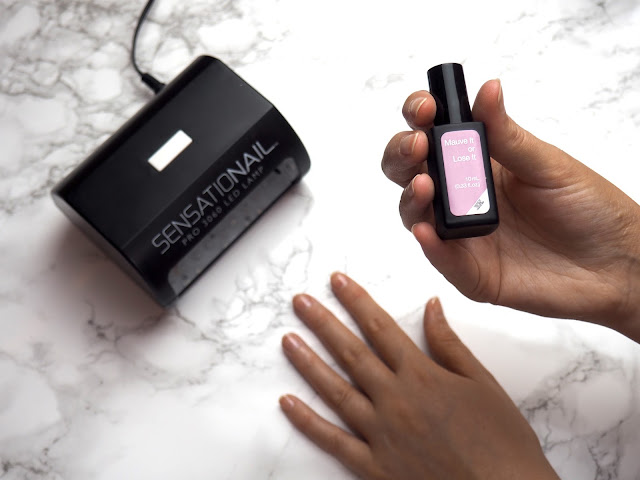
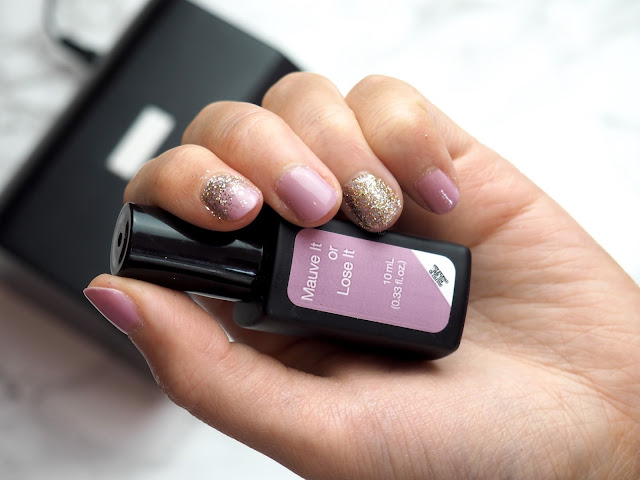
- Gel coloured polish (I used the shade Mauve It or Lose It)
- Glitter
- Nail file
- Nail buffer
- Cotton wool pads
- Stick
- Sensationail UV lamp
To start you need to prepare your nails for the products that you will be applying. I purchased this prep and wipe cleansing liquid from Amazon cheaply and find it works a lot better than the expensive ones you can get in Boots. Cleaning your nails with this product after filing and shaping, makes the surface of the nail smooth and clean which also makes it easier to apply the gel primer onto!
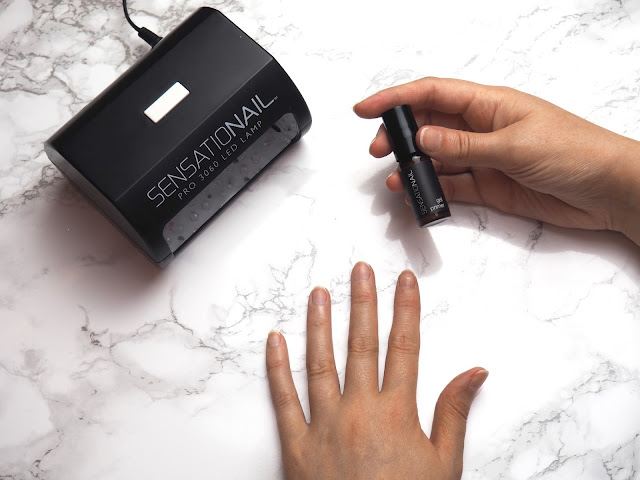
Next I applied the Sensationail gel primer to my nails and waited for them to dry naturally. This primer helps the gel base coat to set nicely on top of your nails. It also protects the nails from the different layers of polish and UV light.
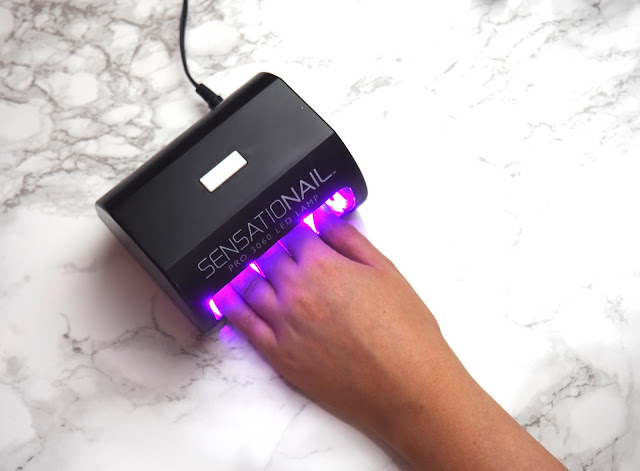
After the primer was dry I applied the Sensationail clear transparent base and top coat smoothly onto the nail. I find that a little goes a long way when applying this product so I try and spread it as evenly as possible on the nail working from the cuticle to the top. I also apply a little bit of the polish to the top of my nail on the underside to secure everything in. This is a tip I do whenever I apply any kind of polishes to my nails as it truly helps any manicure not to chip as quickly! I then put this under the Sensationail lamp for 60 seconds!
Next I applied the colour polish to my nails making sure I spread this as evenly as the base, including applying to the underside of the nail too. I put my nails under the lamp again for another 60 seconds.
Then I apply the second and final coat of the coloured polish. I love how solid the colours are with the Sensationail polishes. Two coats are pigmented enough to work perfectly. I then put my nails under the UV lamp for a further 60 seconds.
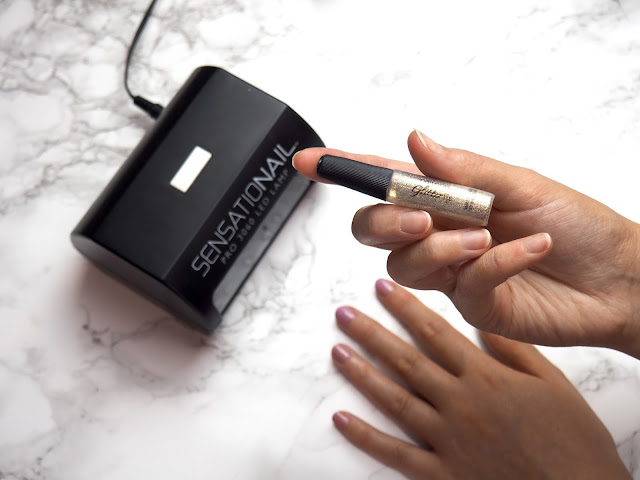
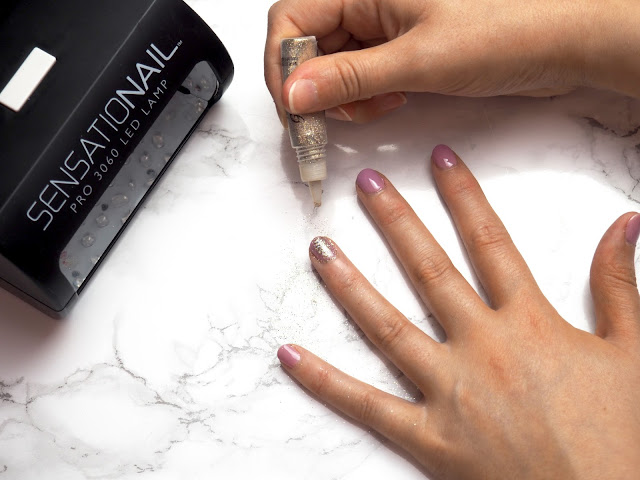
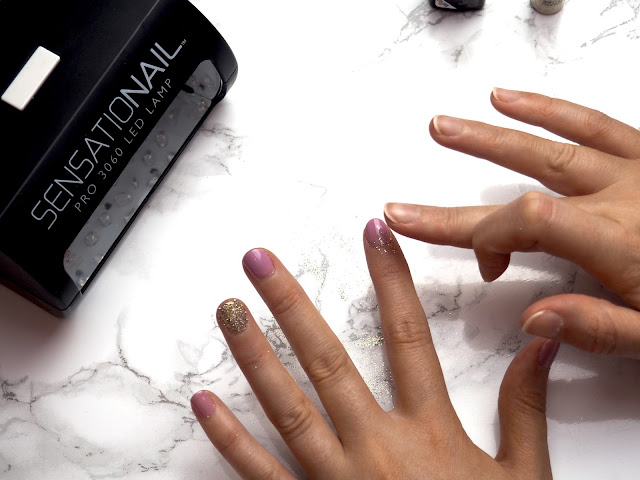
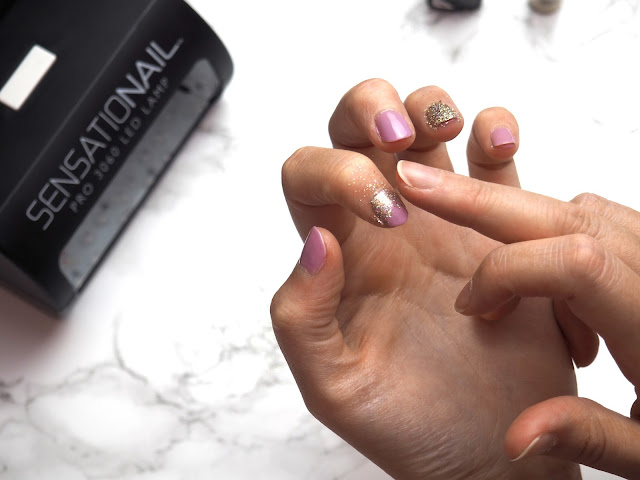
Before applying the glitter to my nails I applied another layer of the clear transparent polish. This gives the glitter something to stick too, and also makes the finish of the glitter smoother. I then used the glitter straight from the bottle and applied to the nails that I wanted. Personally I love having the index and ring finger's as the accent nails. For this design I applied the glitter solidly to the ring finger. For the index finger I applied the glitter in a gradient style starting from the nail bed upwards (I find it easier to tap this on with my finger!). To finish off the nail look, I applied the transparent polish once again over each of my nails. I put this under the UV lamp for a final 60 seconds.
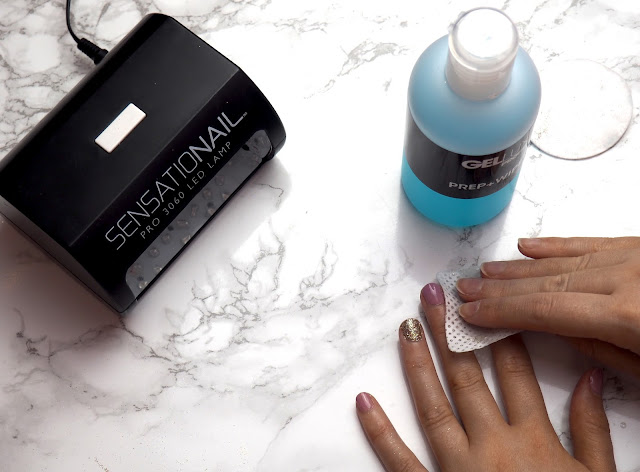
Finally I used the gel cleansing liquid to clean the nails and to wipe away any of the leftover polish and glitter.
Overall I love the look of the finished nail look! I love how chic it appears, and how versatile it is to use with other coloured polishes too. I couldn't recommend the Sensational kit enough!
Have you tried any of the Sensationail gel polishes before? Are there any shades that you think I would love? Let me know in the comments below!
Until next time,


